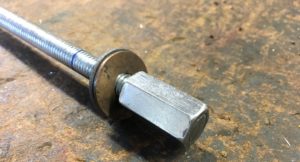
 CTH received a donation of an old Jet 16 Mill/Drill. It was in rough shape. In addition to needing a paint job, there were also some pieces missing, including the Drawbar. Used drawbars on eBay were in the $100 range. Instead of ponying up that cash, we decided to make our own drawbar. We have an entire workshop at our disposal, right?!?!?!?!?
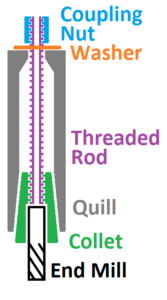 The diagram to the left shows how the drawbar system works. By turning the drawbar at the top, the collet is pulled into a tapered hole in the quill. Doing this compresses the collet which then grabs onto the End Mill.
Before starting to make the drawbar, you will have to know the type of collet that is used with the Mill. In our case, the collets were an MT3 taper. These have a 3/8-16 tapped hole in them. We’ll be using 3/8-16 threaded rod when making the drawbar.
There will need to be a feature on the top of the drawbar for a wrench. We’re just using a 3/8-16 coupling nut that is epoxied onto the threaded rod.
It is important to make the draw bar the correct length. Too short and it won’t reach the collet. Too long and it will push the End Mill out of the collet. To figure out the correct length, the threaded rod, collet and end mill were installed into the Milling Machine hand tight leaving the extra length of the threaded rod sticking out of the top. Simply mark the length, taking into consideration the washer and coupling nut that will be taking up some of the threaded rod’s length.
Next, the Coupling Nut was epoxied to the threaded rod.
That’s it really. After the epoxy cured, we did a test-fit. Everything seemed to work as expected.
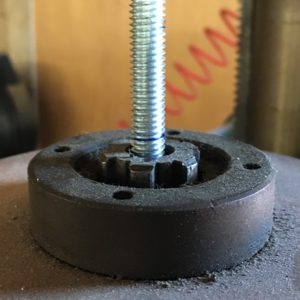
Marking the length of the threaded rod
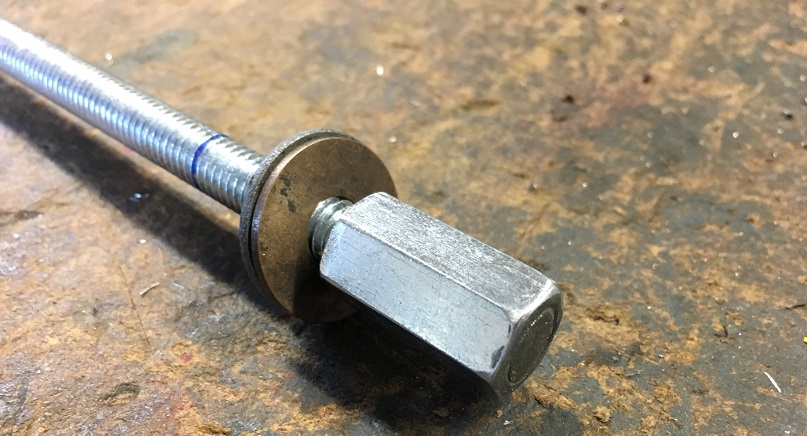
Assembled Jet 16 DIY Drawbar
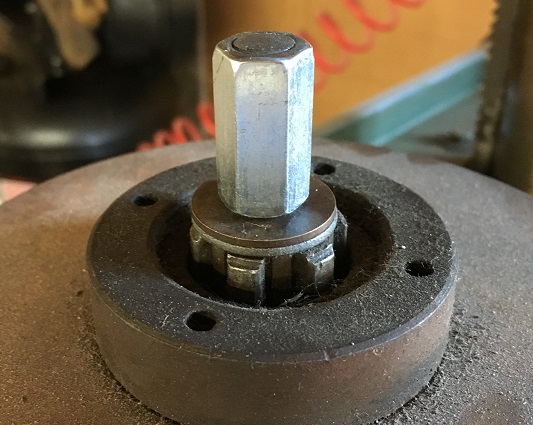
DIY Jet 16 Drawbar – Installed
